After several months, attempts, and VCF rebuilds to get BGP peering with VMware Cloud Foundation, NSX, and my Ubiquiti Unifi network, it finally happened. I wanted to share my experience. This required a lot of help from internal rock star TAMs in our organization, external blogs, and Ubiquiti support. By no means considered an expert in networking, especially when it comes to routing protocols.
Running UDM Pro, firmware 4.1.13, and Network app version 9.0.114. A recent release of UDM allowed the functionality of BGP (via the GUI). I found others in the community who got BGP working on earlier versions of UDM Pro. Check out Chris Dook’s blog.
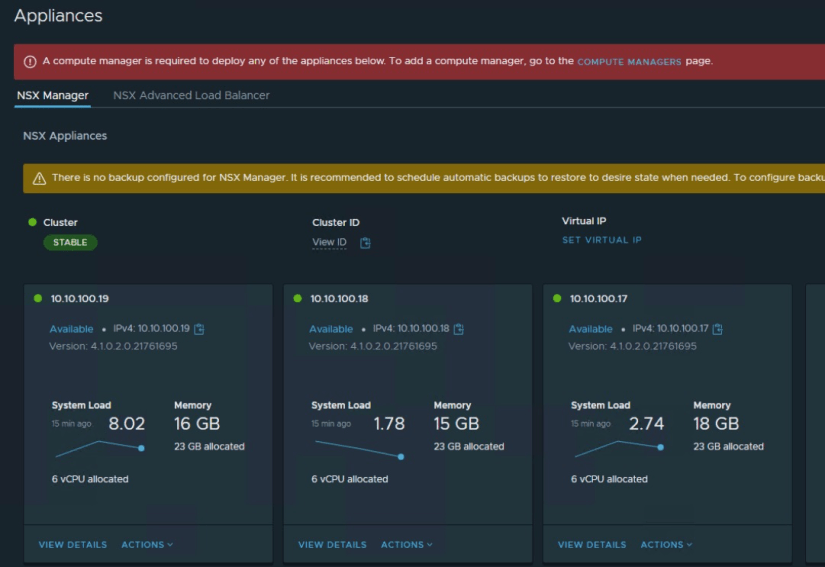
Not to get too deep into the VMware stack, I deployed an NSX Edge Cluster consisting of 2 nodes out of SDDC Manager. When viewing the Networking Topology in NSX, the following IPs you can see are the Edge interfaces, which will need to be defined in your configuration file

My order of deployment was off a little as I was troubleshooting. I was in the middle of my Edge Cluster deployment, but if I could do it again, I would make sure my configuration on the Ubiquiti is done.
During the Edge Cluster deployment, you can go into NSX and do a few things, it might be stuck on a failed task if BGP is not working, luckily I was able to Restart Task and complete it. I must say the SDDC Manager appliance was resilient, considering I had to reboot my UDM Pro several times in a span of 2 days.

Configured 2 BGP Neighbors, one for each network containing their respective interface subnets, you can see I have one neighbor for the .3 and .4 subnets.

I saved the following in a Notepad file and gave it a name. It was <name>.conf, initially I was using the default frr.conf, but the UDM appliance already has that file, so it was suggested by support to not use the same name.
!
router bgp 65000
bgp router-id 192.168.100.254
!
neighbor 192.168.3.2 remote-as 65001
neighbor 192.168.3.3 remote-as 65001
neighbor 192.168.4.2 remote-as 65001
neighbor 192.168.4.3 remote-as 65001
!
address-family ipv4 unicast
  redistribute connected
  redistribute static
  redistribute kernel
!
  neighbor 192.168.3.2 activate
  neighbor 192.168.3.3 activate
  neighbor 192.168.4.2 activate
  neighbor 192.168.4.3 activate
!

  neighbor 192.168.3.2 soft-reconfiguration inbound
  neighbor 192.168.3.3 soft-reconfiguration inbound
  neighbor 192.168.4.2 soft-reconfiguration inbound
  neighbor 192.168.4.3 soft-reconfiguration inbound
!
exit-address-family
!
!
From the Unifi Network UI, go to Settings >> Routing >> BGP and you can create the entry in there, upload the configuration. Once that is completed, connect to the UDM CLI.
The following commands will need to be added and saved to the running config.
root@UDMPro:~# vtysh

Hello, this is FRRouting (version 8.1).
Copyright 1996-2005 Kunihiro Ishiguro, et al.

frr#configure terminal
frr(config)# ip prefix-list ALL-ROUTES seq 5 permit 0.0.0.0/0 le 32
frr(config)# route-map EXPORT-ALL permit 10
frr(config-route-map)# match ip address prefix-list ALL-ROUTES
frr(config-route-map)# exit
frr(config)# router bgp 65000
frr(config-router)# address-family ipv4 unicast
frr(config-router-af)# neighbor 192.168.3.2 route-map EXPORT-ALL out
frr(config-router-af)# neighbor 192.168.3.3 route-map EXPORT-ALL out
frr(config-router-af)# neighbor 192.168.4.3 route-map EXPORT-ALL out
frr(config-router-af)# neighbor 192.168.4.2 route-map EXPORT-ALL out
frr(config-router-af)# exit
frr# write memory
For the instructions above, please ensure to type exit until you’re at the frr# prompt and then ‘write memory’
So, what happens next? Let’s verify our routes are being advertised and learned from NSX. There are other ways to validate, however, this is what I was chasing down, and it ultimately resolved my Edge Cluster deployment.

From one of the NSX edges (in admin mode) you can access the Tier0 and run ‘get route bgp’ and we can see which paths are connected via bgp

This is all in my personal lab, please do not rely on these to deploy to a production environment, use caution, and consult with a partner or any professional services.